Overview
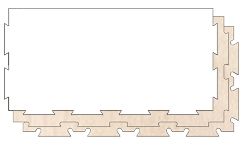
Dogbone fillets are used to overcut into a corner when the application of the part you are making needs to fit tightly with another. When cutting out internal corners on a CNC you are left with a round corner due to the round tool you have used, you would need to manually finish off each of these corners with a sanding file to remove the rounded corner. With dogbone fillets you can use the CNC to overcut into these corners by the radius of the tool so that any mating material will be able to slot into place . This method is great for concealed joints where it will not affect the finish of the product.
How It Works
This gadget comes in two stages, first is Dogbone Detect, this detects all possible places on your selected vectors that dogbone fillets could be used, if necessary you can remove any that are unwanted. Stage two then takes all the markers that were created in stage one and creates you toolpath vectors. What this means is that the gadget will create you a vector which you should use to create a profile cutout toolpath with which will automatically dogbone all the places you left remaining marker points.
Tutorial
How to use Dogbone Detect?
Select your chosen closed vectors you wish to apply this to
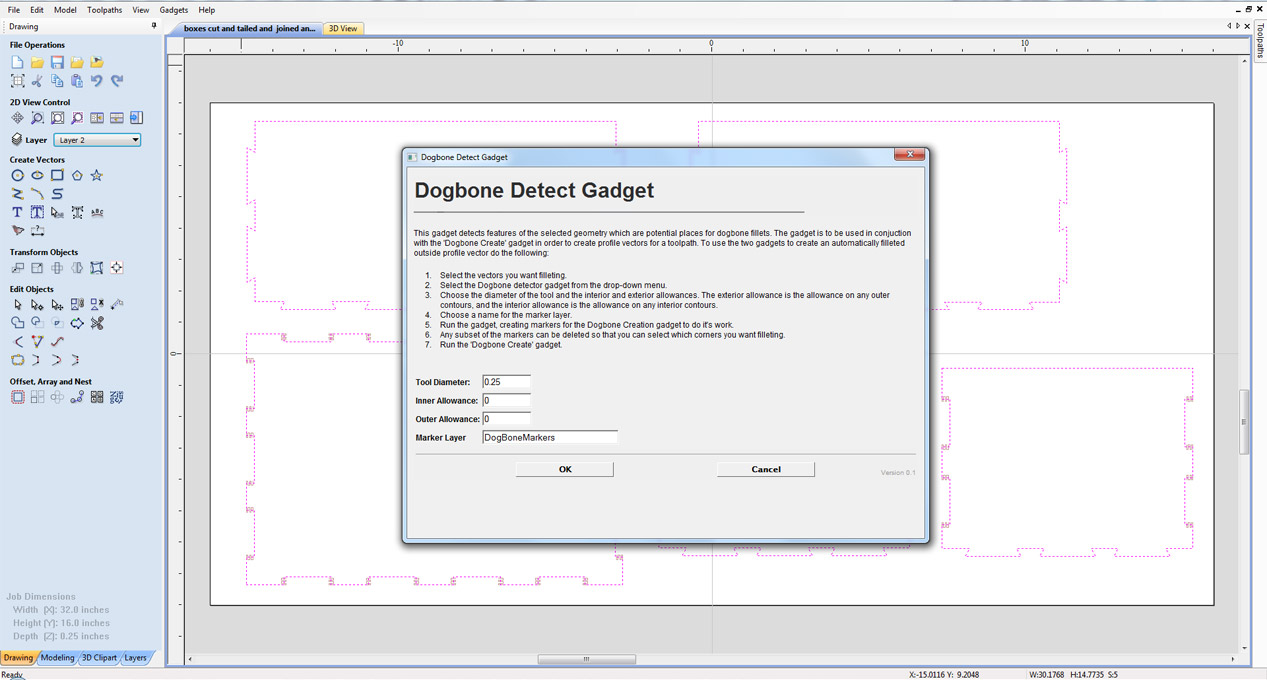
- Go to "Gadgets" on the toolbar and select the "Dogbone Detect" Gadget
- With the Gadget running you will have the following options
- Tool Diameter: Specify the tools diameter, this is important as this will determine the size of the Dogbone fillets.
- Interior allowance: The allowance on any interior contours.
- Outer Allowance: The allowance on any outer contours.
- Marker Layer: This is the name given to the layer that this gadget will create and then use in the "Dogbone Create" Gadget
- Click "OK" to use the specified options and the Gadget will now create your Markers layer
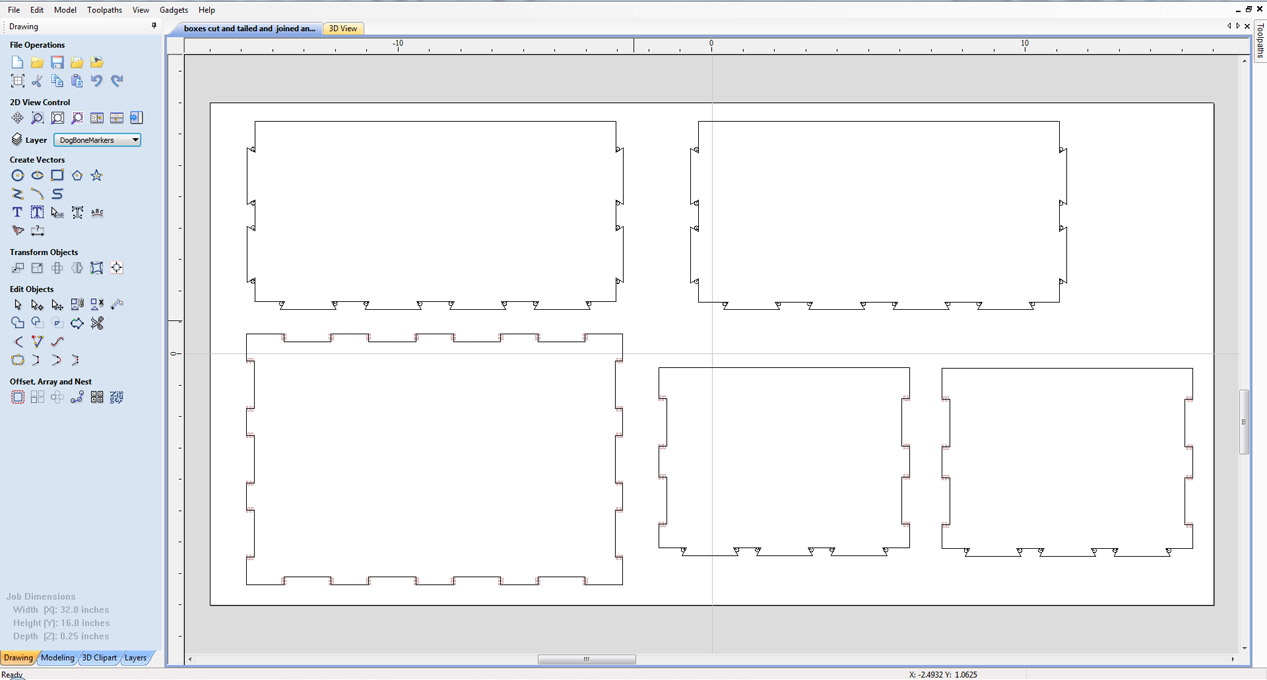
- This will now display markers over all possible places where Dogbone fillets may be needed, this is your opportunity to delete any unwanted markers you do not need.
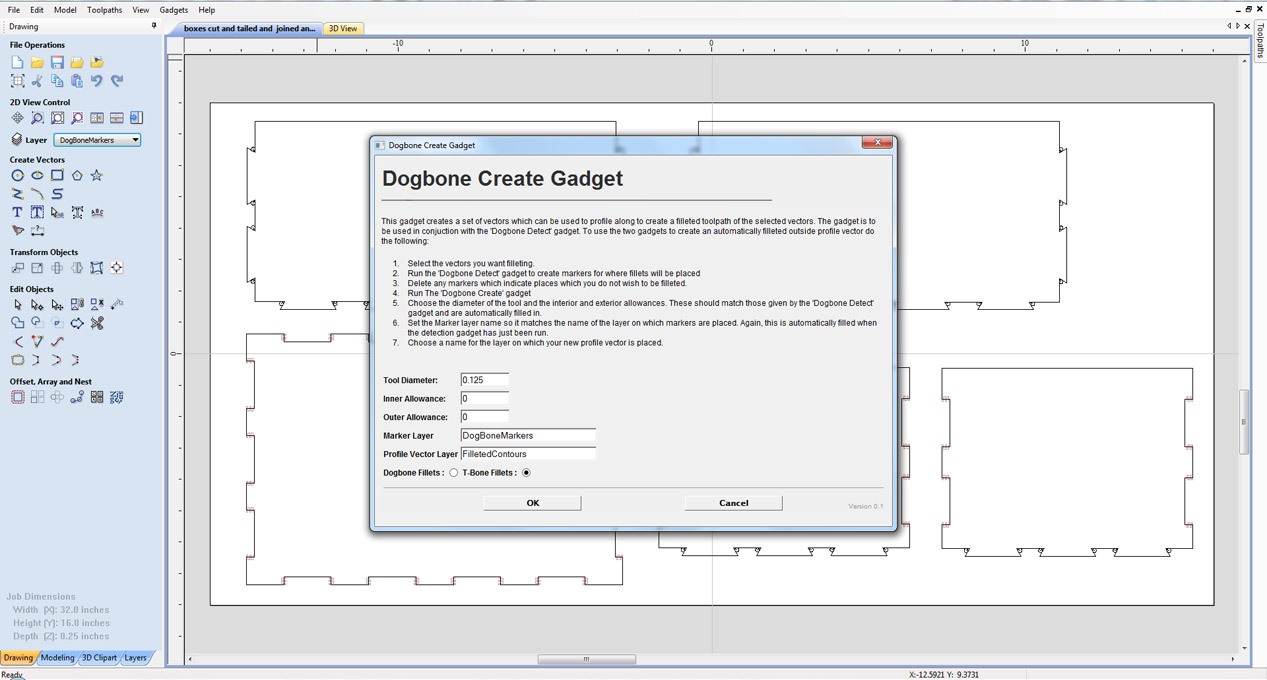
- Now go to "Gadgets" and select the "Dogbone Create" Gadget
- With the Gadget running you will have the following options
- It will display the options you selected in the Detect Gadget, Tool diameter, Inner and outer allowance.
- Marker Layer: It should automatically pick up the markers layer that the Detect Gadget created, if not enter that here.
- Profile Vector Layer: This is the layer that this Gadget will create.
- Click "OK" to use the specified options and the Gadget will now create your profile vector layer.
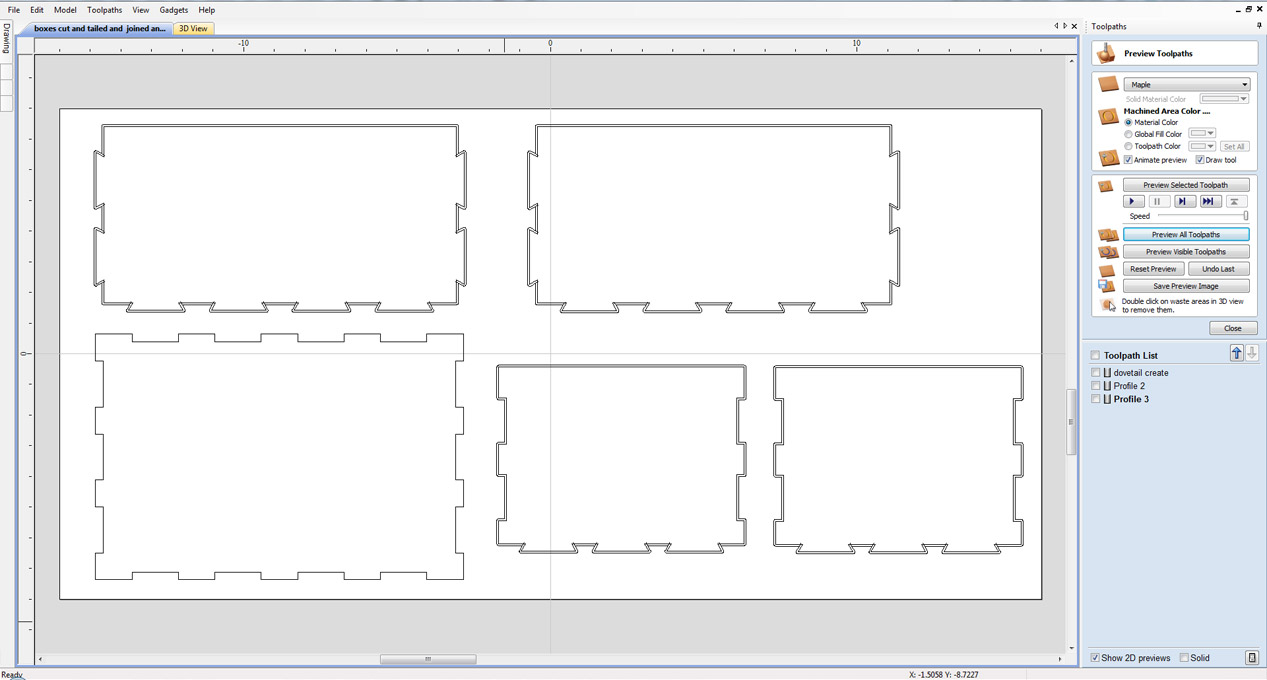
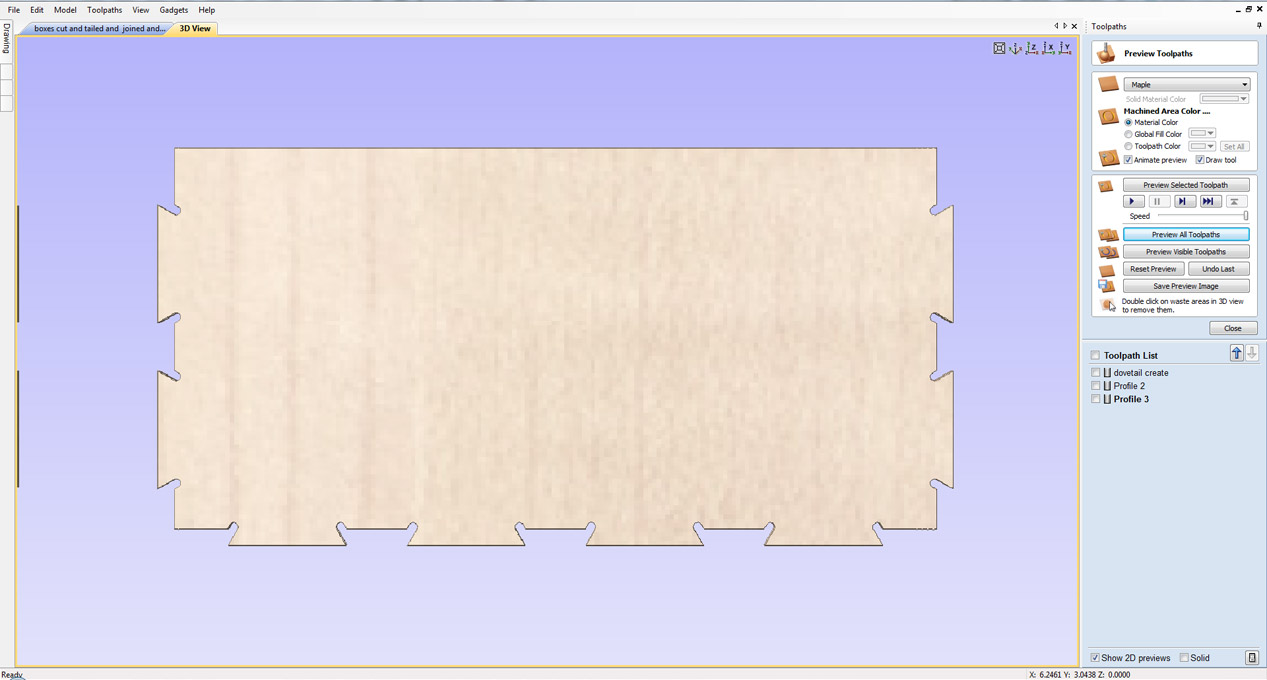
- From here you can then go ahead and switch to your "Toolpaths" tab and select the "Profile" option, go through the options, calculate and preview the toolpath.
How to use Dogbone Create?
Select your chosen closed vectors you wish to apply this to
- Go to "Gadgets" on the toolbar and select the "Dogbone Toolpath Creator" Gadget
- With the Gadget running you will have the following options
- Layer To Toolpath: Specify the name of the layer you want to add the toolpath to.
- Tool Diameter: Specify the tools diameter, this is important as this will determine the size of the Dogbone fillets.
- Interior allowance: The allowance on any interior contours.
- Outer Allowance: The allowance on any outer contours.
- Profile Vector Layer: This is the name given to the layer that this gadget will create with the profile vectors.
- Click "OK" to use the specified options and the Gadget will now create your Markers layer
- From here you can then go ahead and switch to your "Toolpaths" tab and select the "Profile" option, go through the options, calculate and preview the toolpath.