Overview
The purpose of this gadget is to add 3D functionality to VCarve Pro by creating 3D wrapped toolpaths from a 2D cross section vector, it can also be used with Aspire to speed up the 3D modelling process and toolpath creation.
How It Works
This gadget works by taking a cross section of what you would like and wraps it around 360 degrees to create a rotary toolpath. For this to work create a vector which represents the outline of half of the product you are trying to make length ways. Then set up a rotary job and run this gadget.
Tutorial
Step By Step
How to use Turned Profile?
To use this gadget just follow these simple steps:
- Open VCarve Pro or Aspire
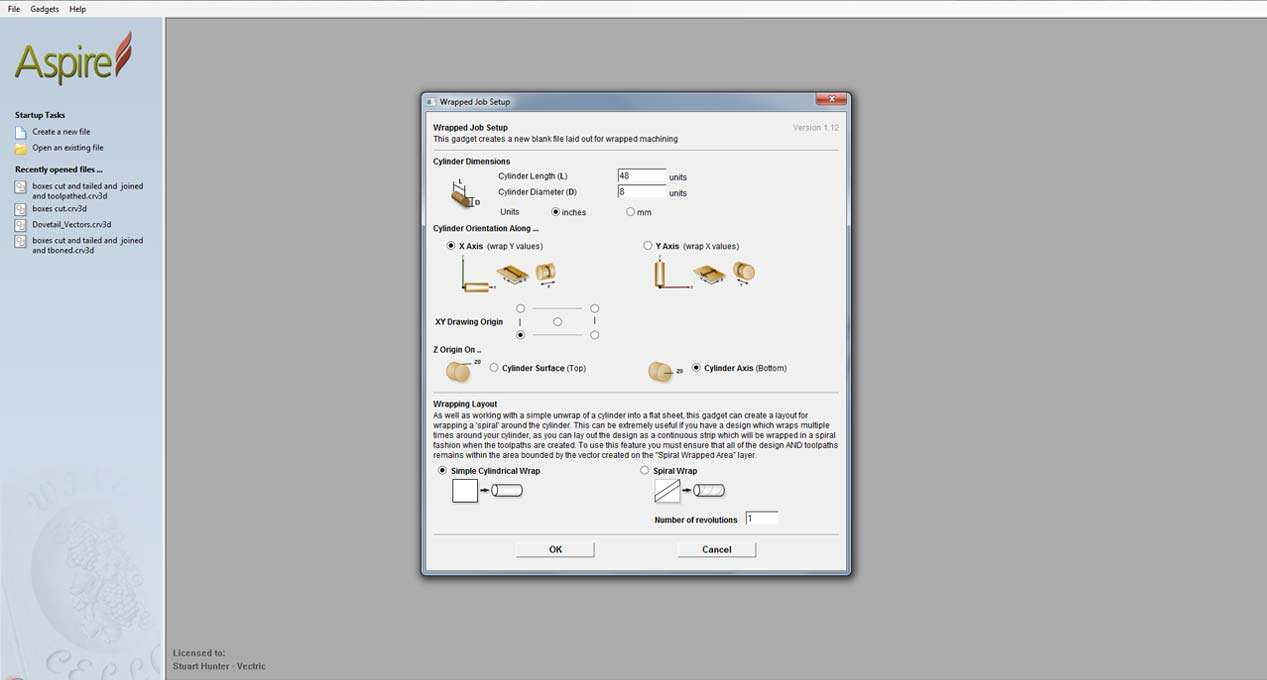
- Go to "Gadgets" on the toolbar and select Wrapping -> Wrapped Job Setup.
- With the Gadget running you will have the following options
- Cylinder Dimensions: Enter the required dimensions of the job you wish to create.
- Cylinder Orientation Along: Specify the orientation of your design and your CNC machine setup
- XY Drawing Origin: Specifiy where you would like the CNC machines starting point for cutting. Most start from bottom left.
- Z Origin On: For this gadget to work this MUST be set on "Cylinder Axis (Bottom).
- Wrapping Layout: For this gadget to work, this MUST be set to " Simple Cylindrical Wrap".
- Click "OK" and the gadget will run the Wrapped Job Setup.
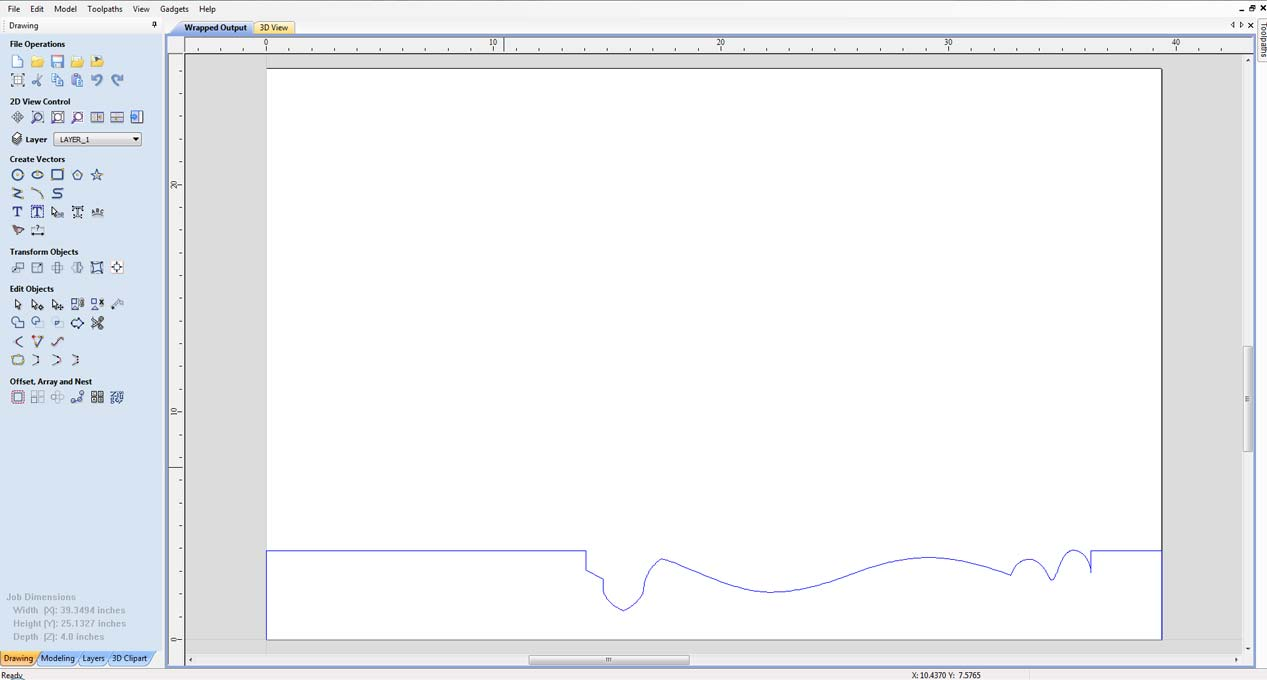
- Now you can either import a cross section vector into the job or create one.
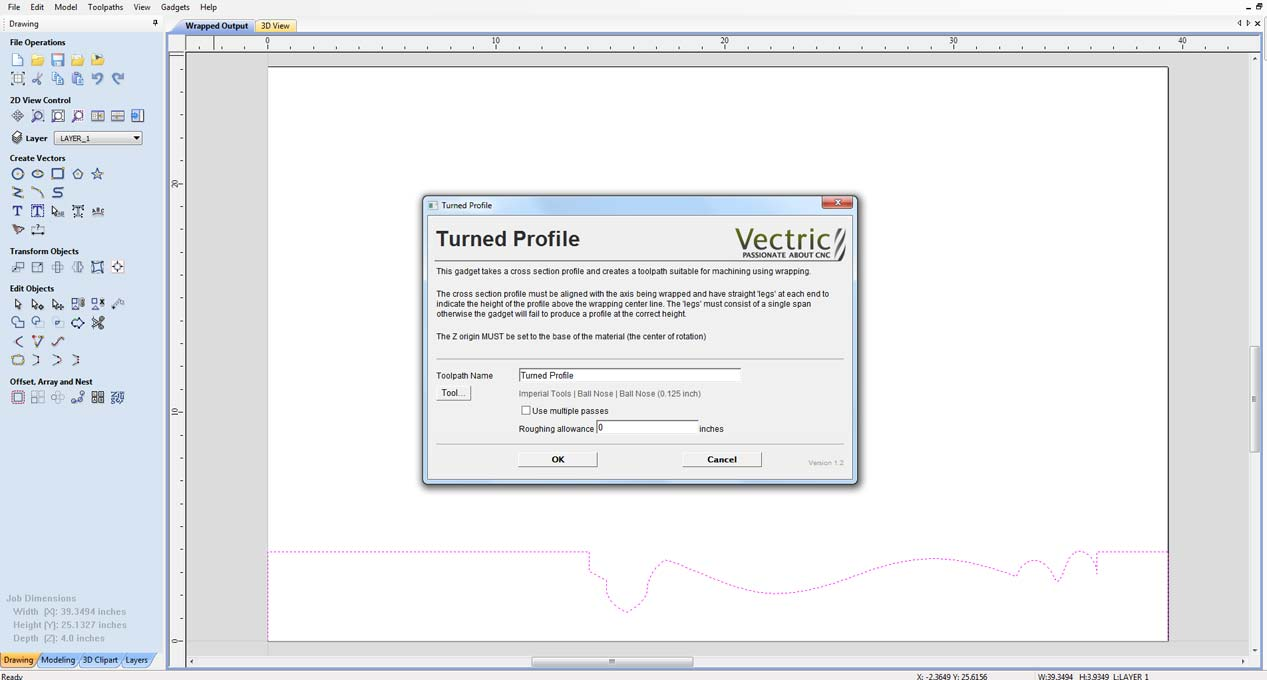
Preliminary Checks: Make sure the measurement on the vector which represents the thickness of the part, does not go over half of the thickness of material set. Also ensure that the vector is selected and then proceed to the next step. - Go to "Gadgets" on the toolbar and select "Turned Profile".
- With the Gadget running you will have the following options
- Toolpath Name: Enter the name of the toolpath you would like the gadget to create.
- Tool: Select a Ball Nose tool that you wish to use.
TIP: Remember, when selecting a tool, the smaller the diameter, the smaller the passover and the smaller step over of a particular tool, the more intricate the detailing will be, but longer the job will take to complete. - Use Multiple Passes: Select this option to put less stress on the tool, as it will skim off layer by layer the material, rather than plunging straight into the depth it needs to cut.
NOTE: This will also increase the amount of time to complete a job.
Click "OK" and the gadget will run and create the toolpath required.You can now go to the toolpaths tab and "Preview Toolpath"
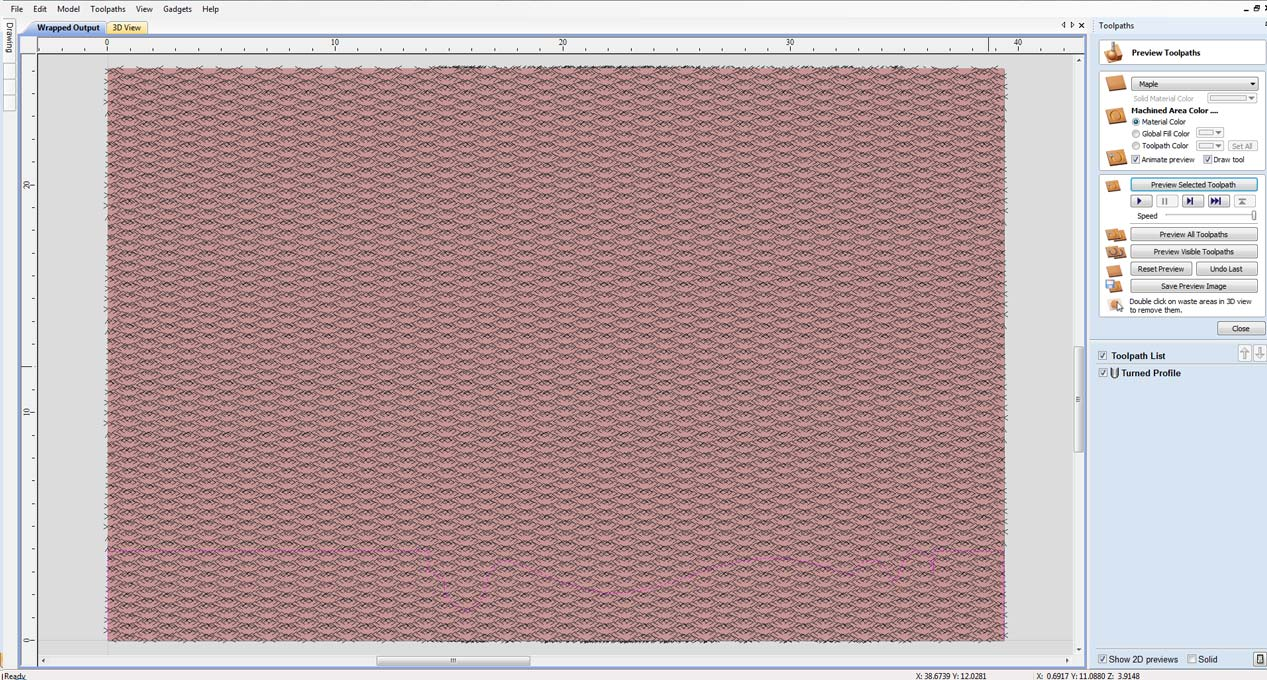
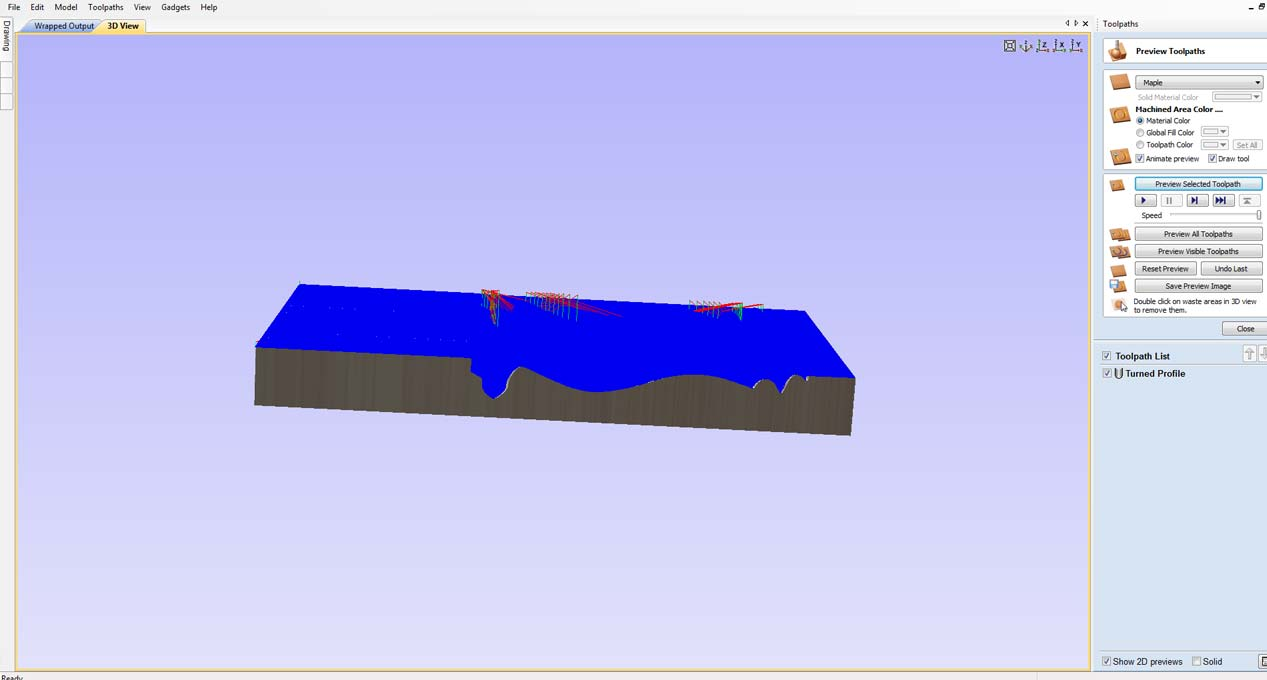
To Preview In VCarve Pro.
To preview what this will look like as a 3D model:
- Go to the "Toolpaths" tab.
- Select the toolpath the gadget created
- On the Toolbar go to Toolpaths -> Toolpath Drawing -> Wrap Y Values ( around X) or Wrap X Values (around Y) depending on your setup
- Then go to the 3D View
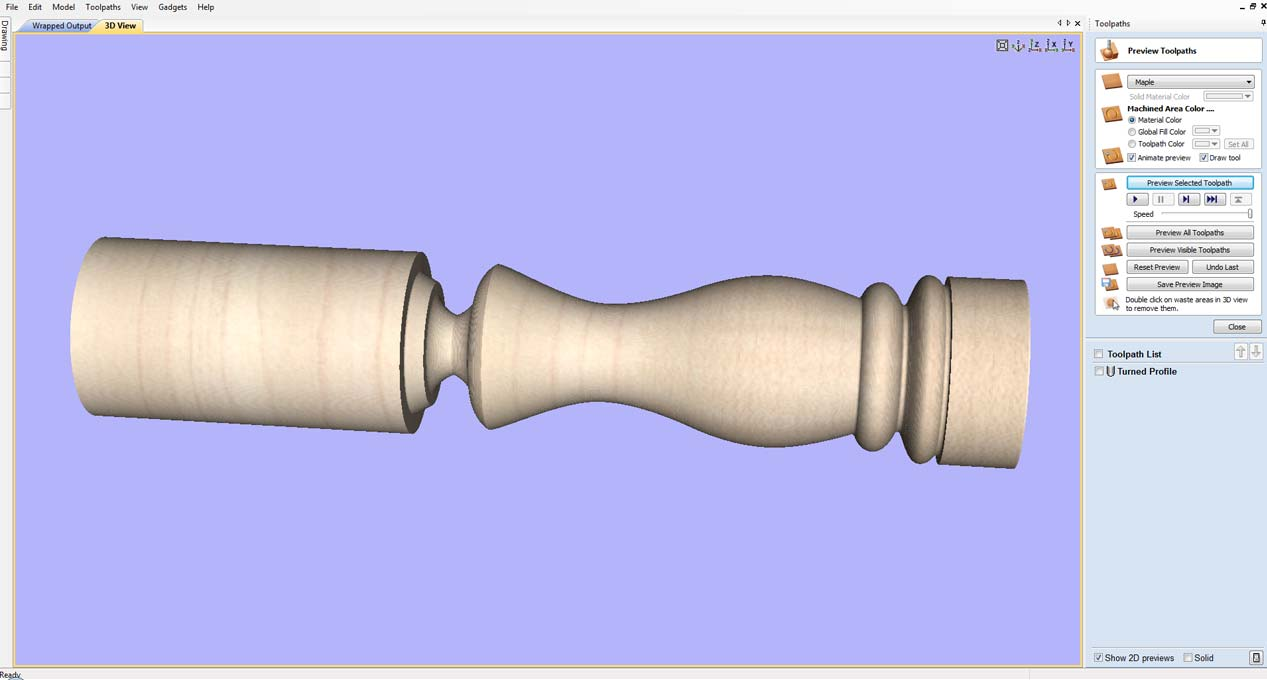
To Preview In Aspire.
To preview what this will look like as a 3D model:
- On the Toolbar go to Toolpaths -> Toolpath Drawing -> Wrap Y Values ( around X) or Wrap X Values (around Y) depending on your setup
- Then go to the 3D View