Overview
The Box Creator Gadget is a powerful addition to the Vcarve Pro and Aspire software. This gadget automatically creates all box sides or selected sections of the box required with angular dovetail joints as required. The joints are milled from the top of the material rather than the traditional method from the side, this top down approach allows you to use a regular end mill to create the desired joint. It is also possible to add 3D clipart from the Design and Make model libraries to decorate the surfaces as required
How It Works
Simply determine the size of the box required, the thickness of the material to be used and which of the six box sides are required. The video below shows the cutting of the dovetail joints on a CNC Machine
How to use the Box Creator?
Please note: The dovetail toolpaths created when using this gadget are locked to the layout position. i.e. it is not possible to move toolpaths to a new position once created.
Therefore, it is important to check the toolpath layout required will fit on the material available and the ‘machinable foot print’ of the CNC machine used for the project.
With this in mind, if you are using a smaller CNC machine it is possible to select individual sides of the box by ticking the section required. This enables the user to maximise the size of the box required by placing the toolpaths on individual layers and so maximizing the machinable footprint of the CNC.
Please note: This is also very convenient option if the lid of the box is to be made from thicker material.
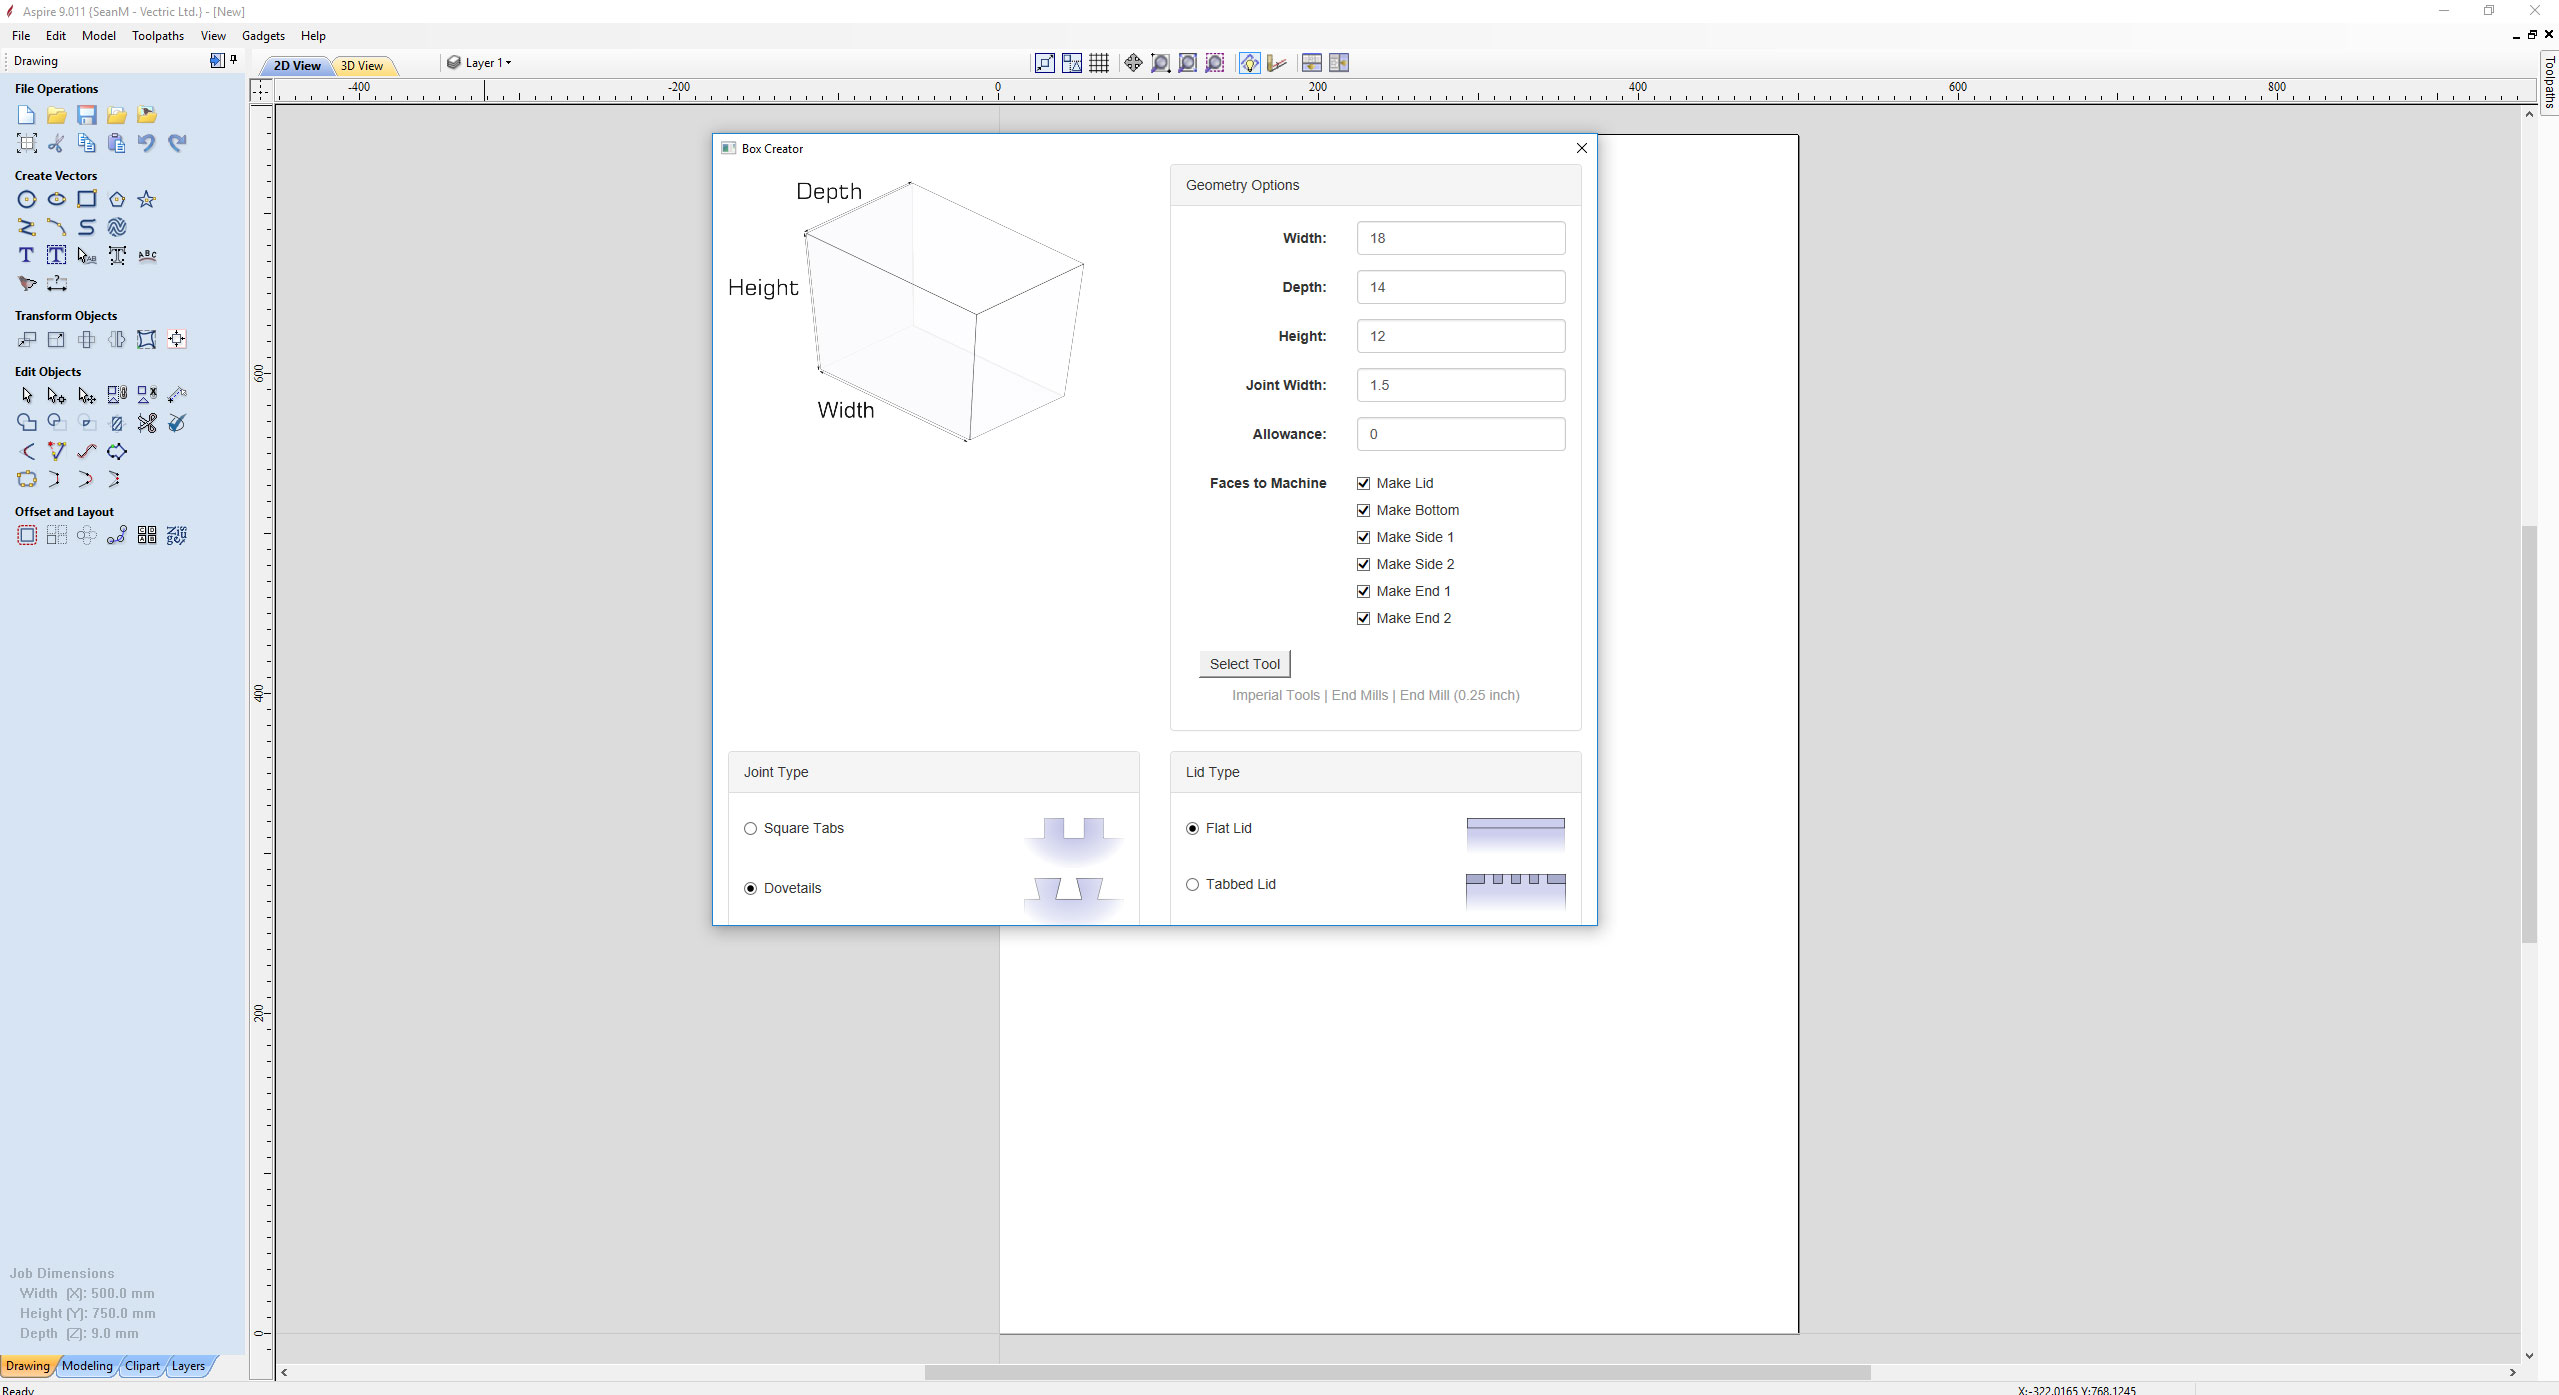
- Set the appropriate job size and material thickness.
- Select ‘Box Creator’ gadget from gadgets dropdown menu
- Define the width, the depth, and the height of the box required.
- Joint Width is the length of the dovetail required.
- Add an allowance.
- Please note: If set to zero then the finished box may be too tight to assemble, this is also CNC machine and tool tolerance accuracy dependant.
- Select the sides of the box required.
- Select the endmill mill tool to be used.
- Select Joint and lid type and press OK.
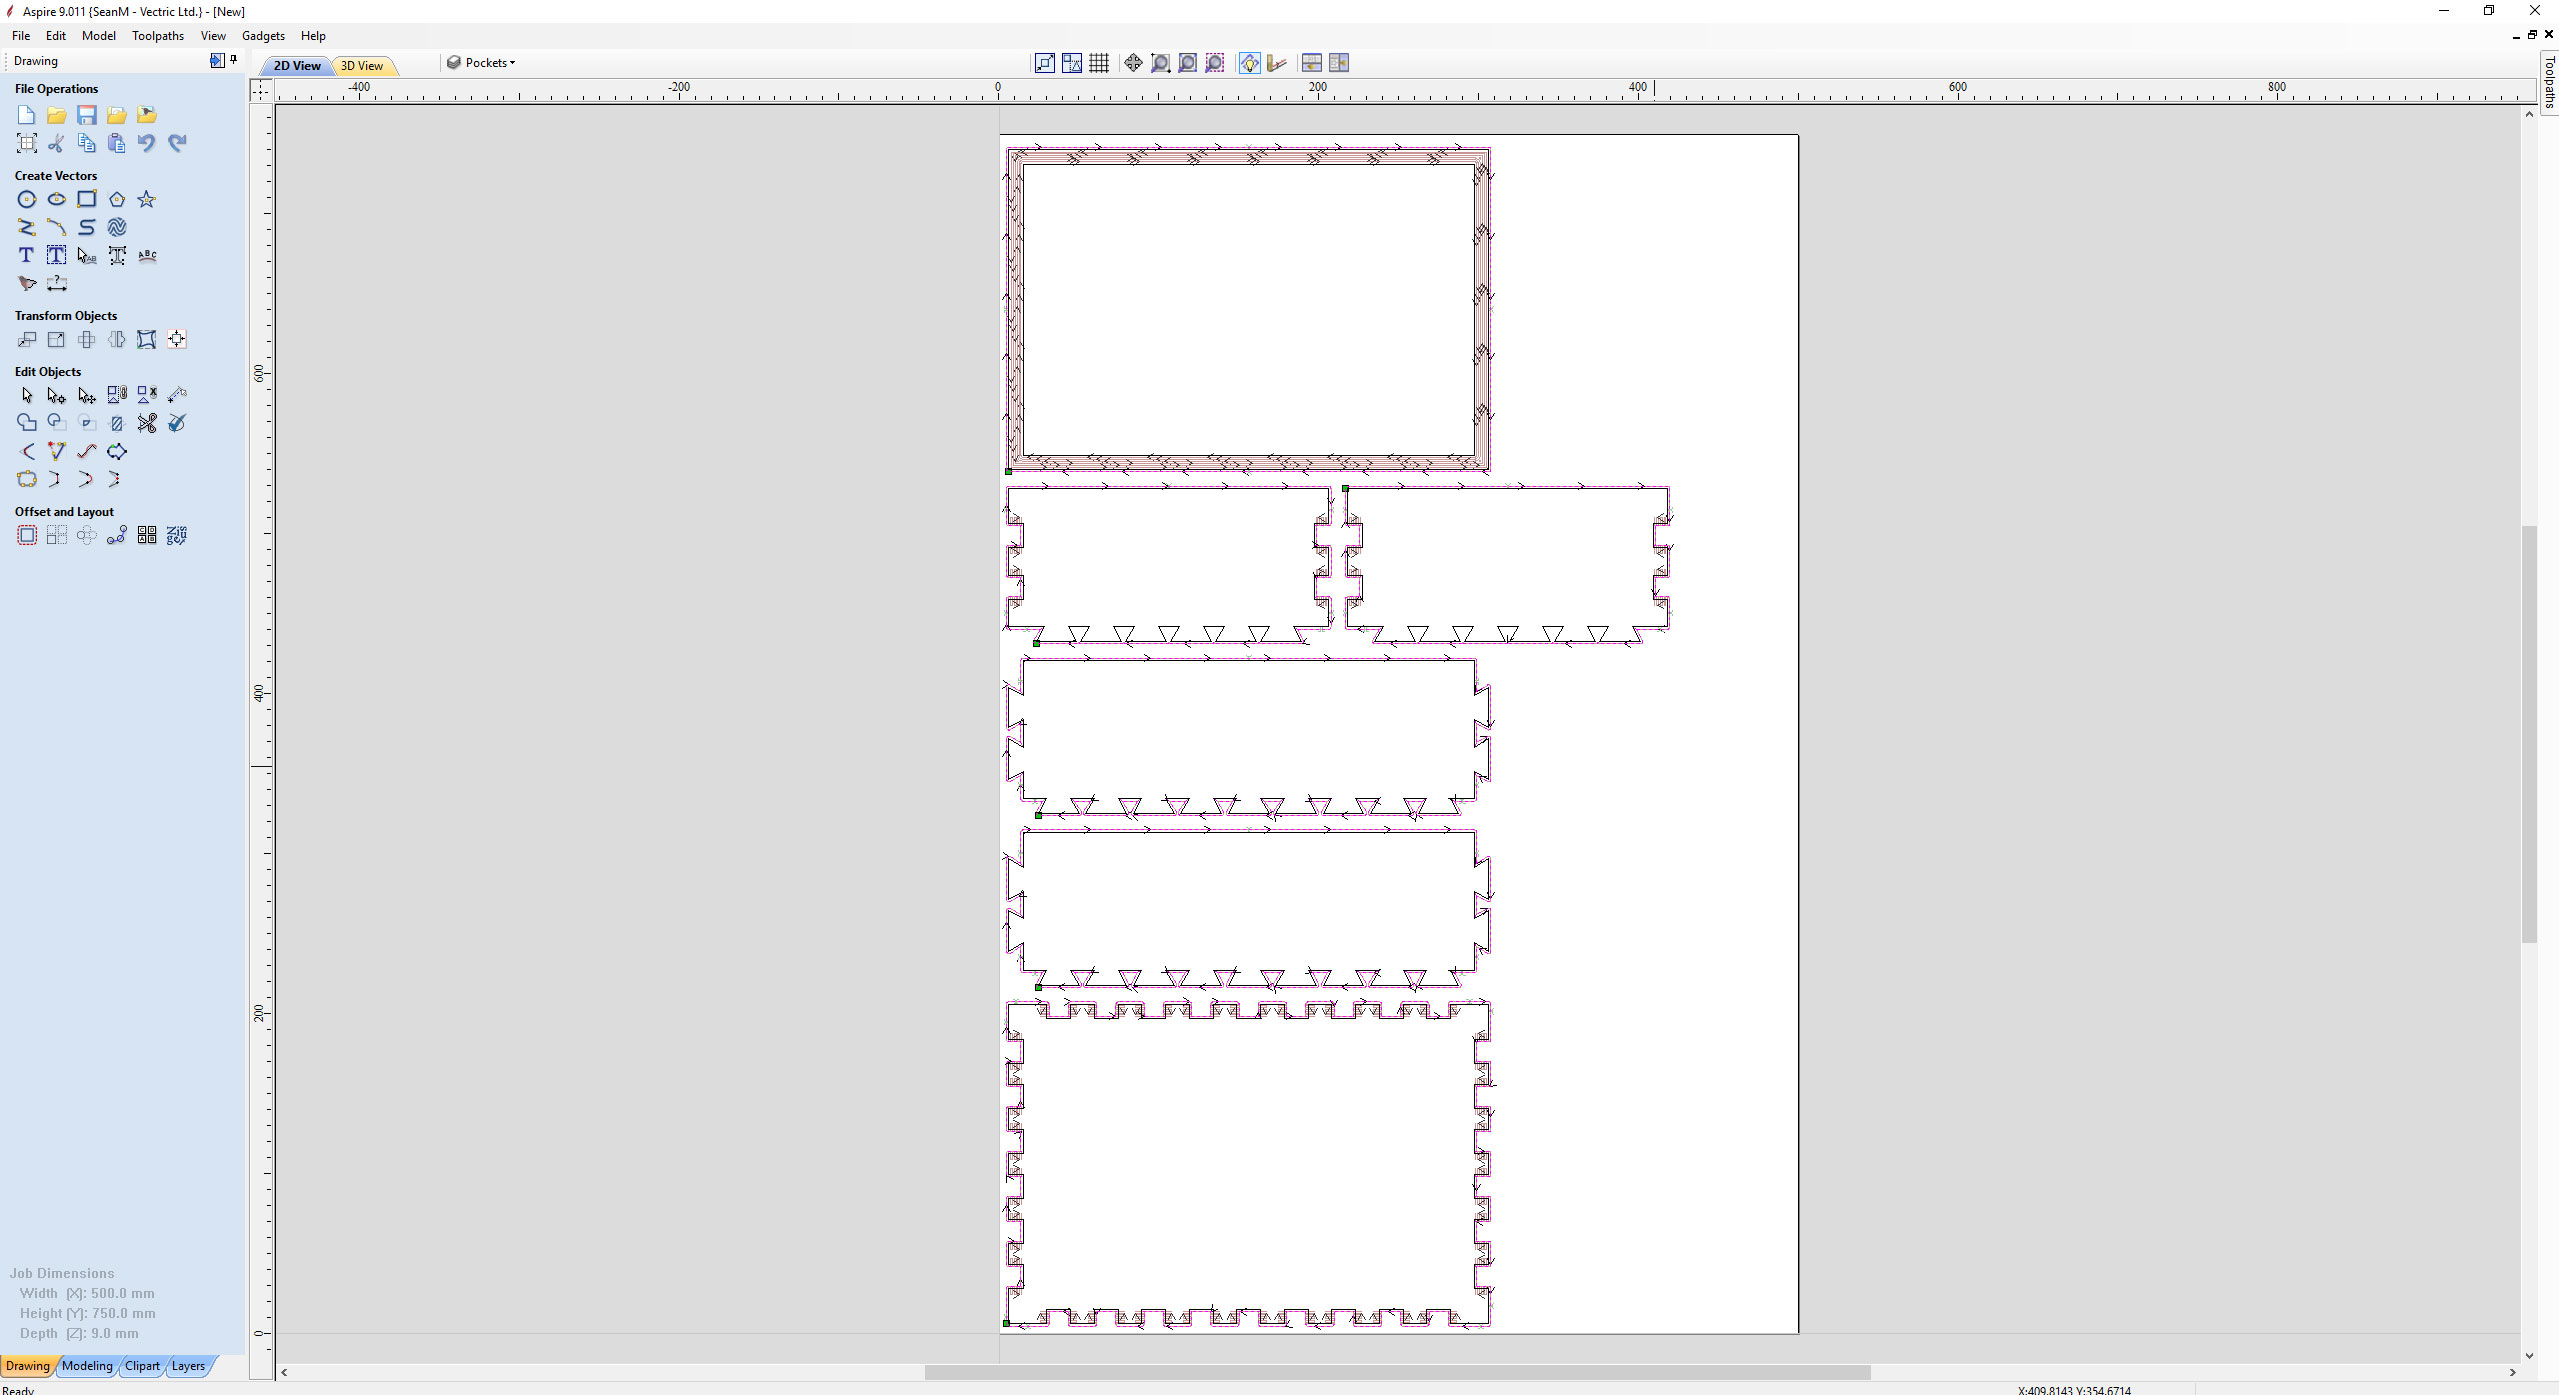
- The toolpaths are now automatically calculated.
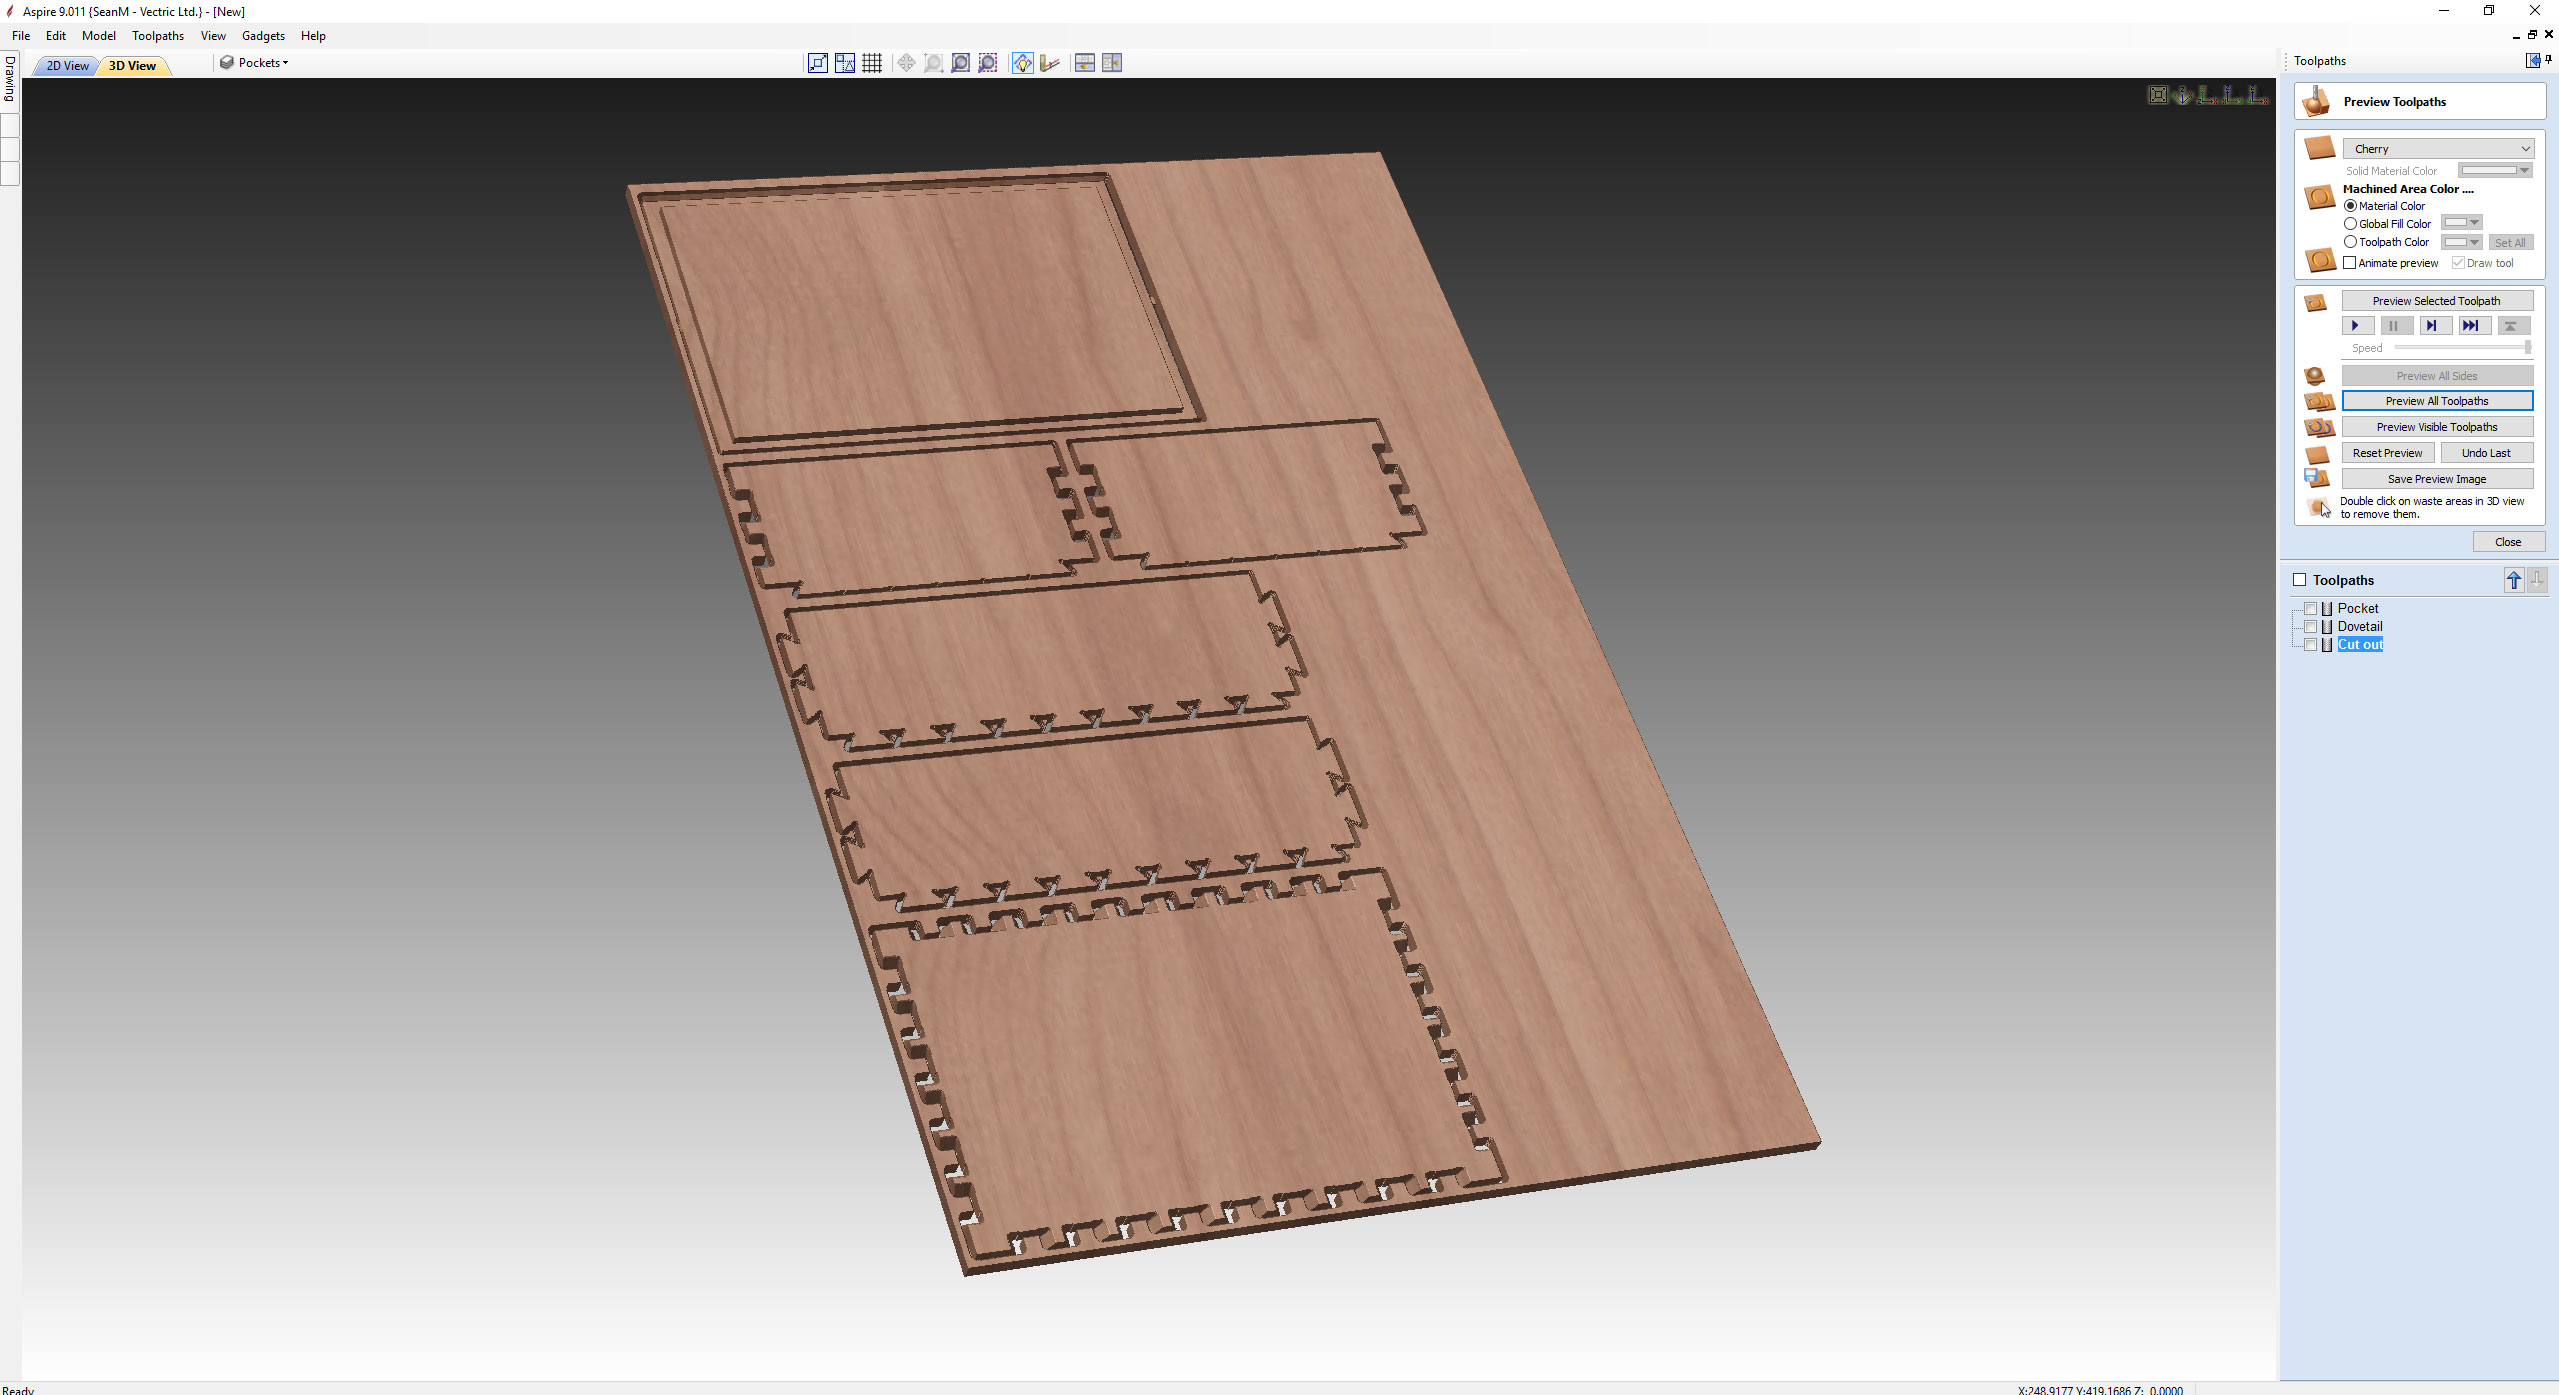
- Open the Toolpath Preview and check toolpaths are suitable and positioned correctly
- Edit Tab location and thickness on the profile Cut Out pass to ensure correct hold down of parts
- Save and output toolpaths to run on the CNC Machine.